I spent quite a bit of time thinking about what the subject was going to be for this exercise and ran through many options. Eventually I settled on an old Bailey bridge in town as the lattice patterns of the structure would assist with this exercise. In the end, I did the exercise twice, from two view points and decided on Black & White as it was an overcast day and a grey bridge and grey sky did not make for a happy colour image.
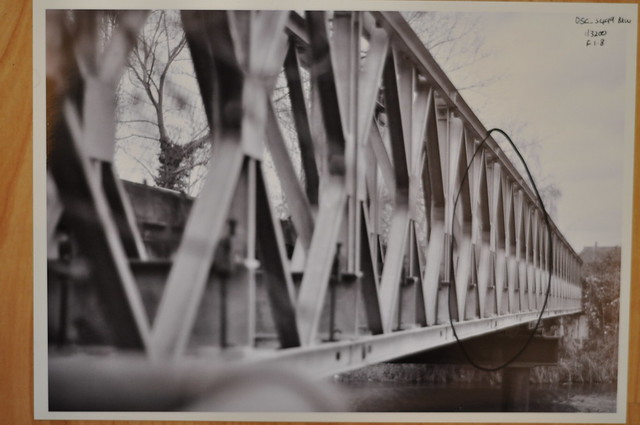
The first image shows just the central section of the lattice work and the mesh behind it being in sharp focus. This was taken at the lens' widest aperture, f1.8. The foreground and background lack any detail and the amount of blurring in the foreground is almost distracting. The branch immediately infront of the lens is all but invisible. The area in sharp focus is within the marked area of the photo of a photo below.
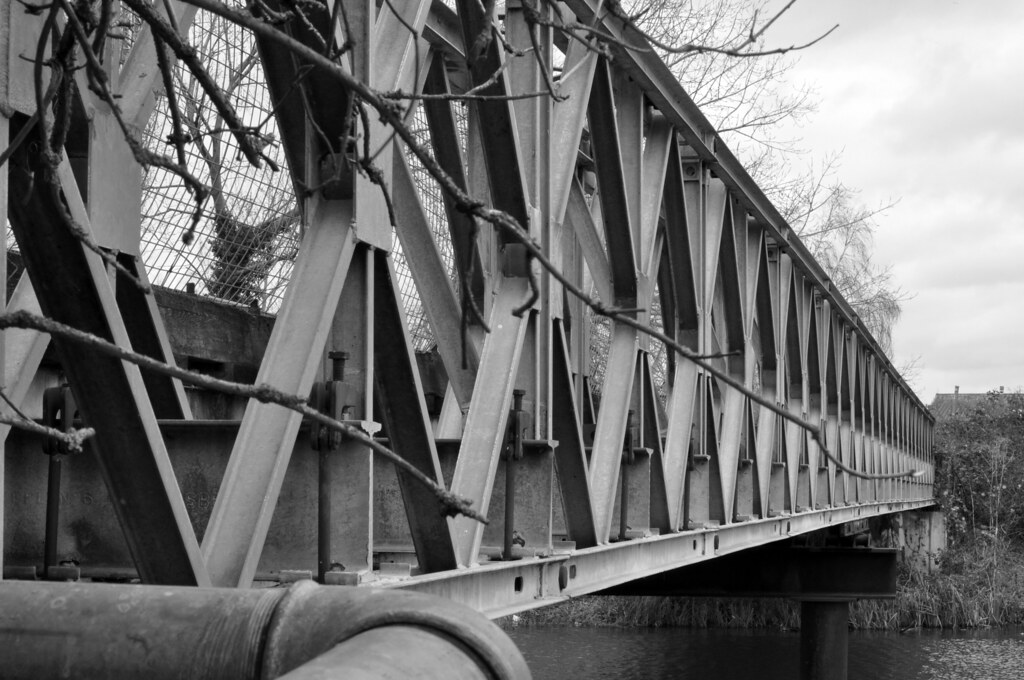
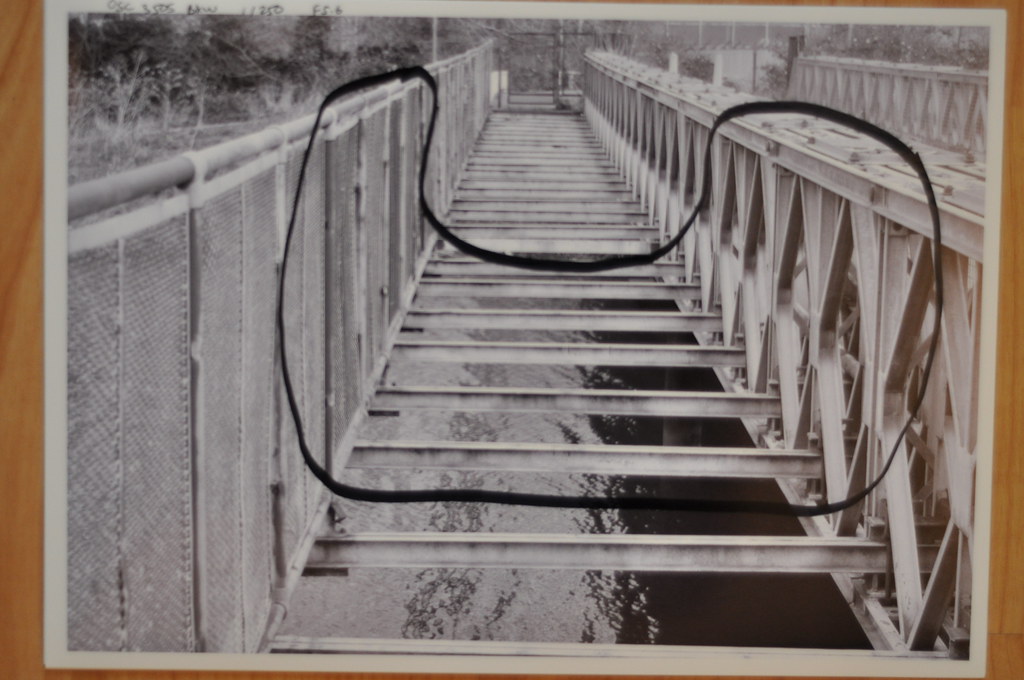
The second photograph is at f5.6 and we can now start to see more detail emerging as the wider scene comes into focus and we can start to interpret the mechanics of the bridge and how it fits together . Branches are obvious now in front of the lens, although they are not shown in any detail yet. Again, the area in focus is marked
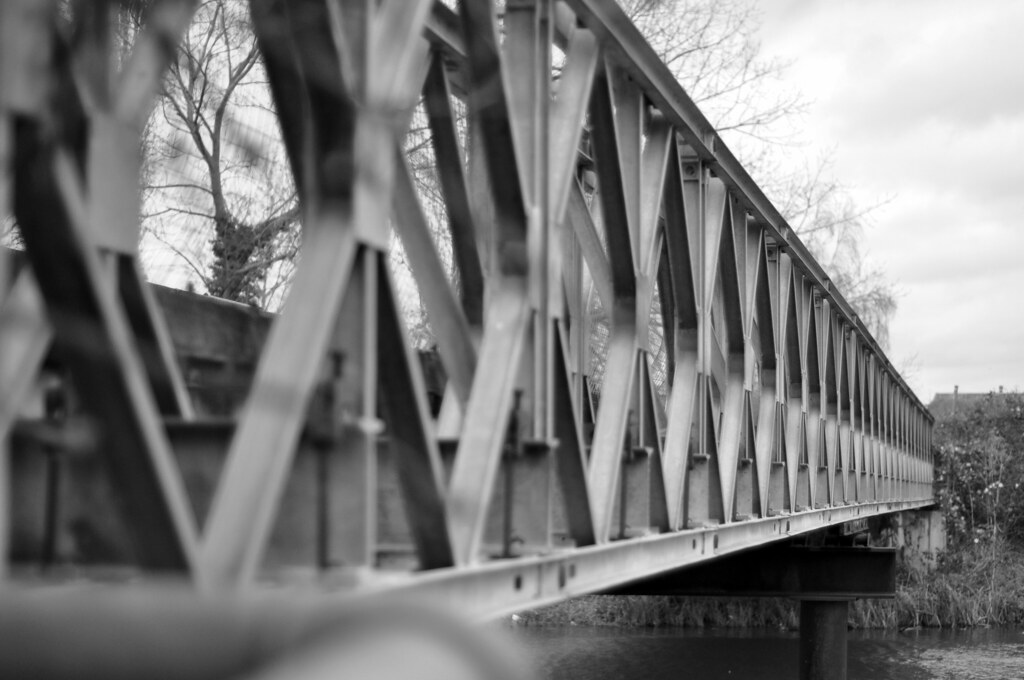
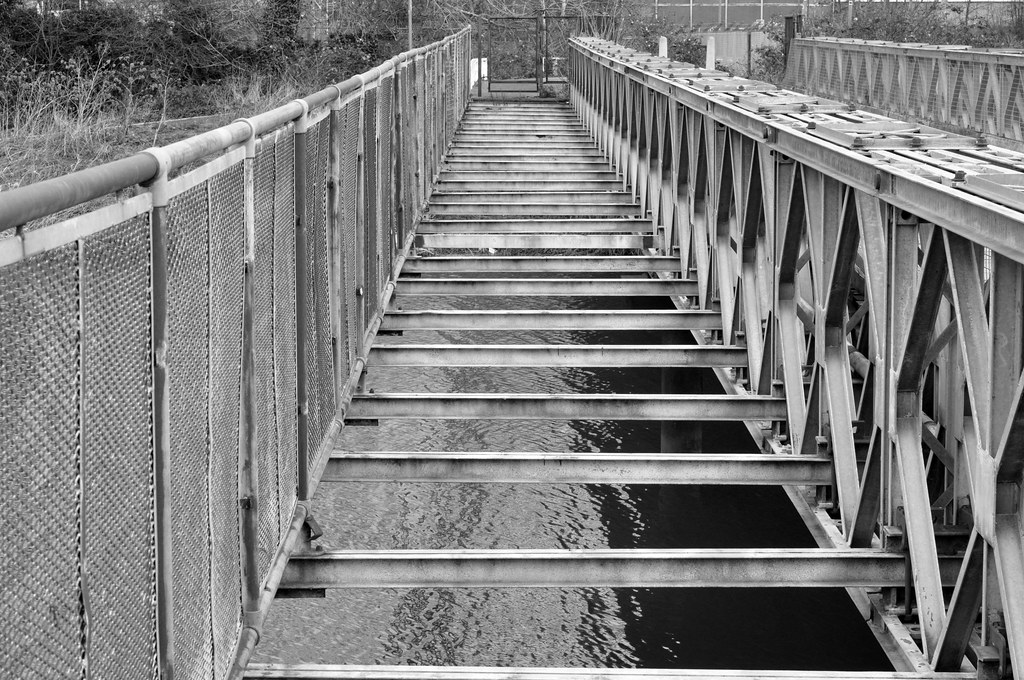
The third photograph was taken at f22 and pretty much everything has now been brought into focus, the only things not being in sharp focus being the pipe at the bottom left and the very nearest branches. Therefore, I have not marked the area in focus and included the original image here rather than a photo of it.
The difference between the widest aperture and the smallest is striking.
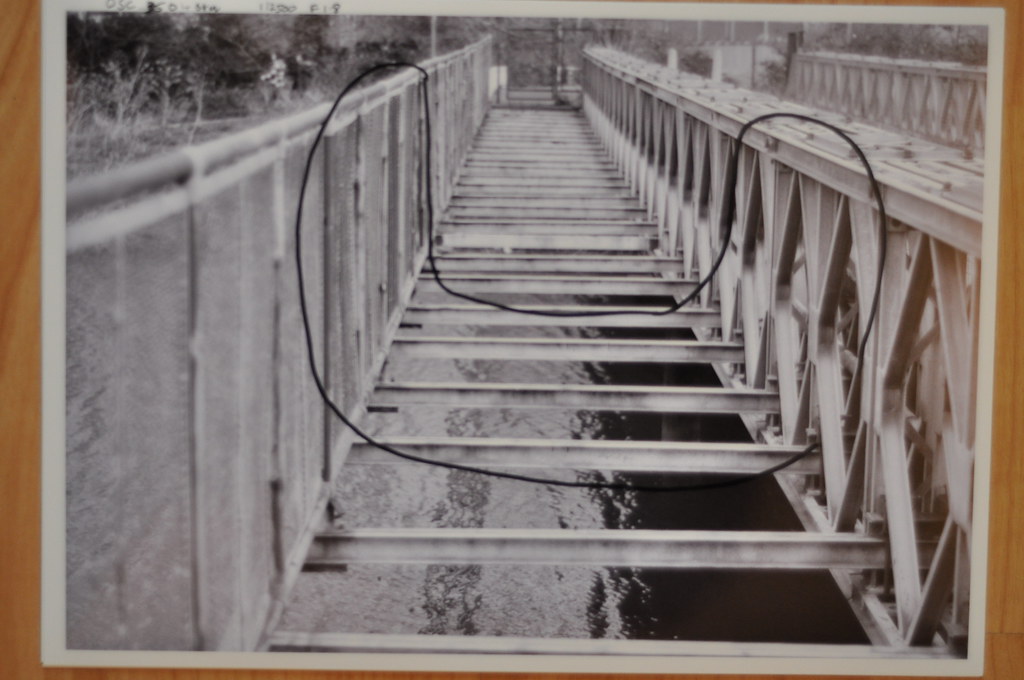
The second series show the bridge from a different viwepoint , which led to a more complicated area of the image being in focus, due to the shape that the bridge forms. On reviewing the photographs, I was interested to see quite different effects on the reflection of the structure in the water beneath. On the wider apertures, the reflection appeared almost painted onto the water, whereas they were much more subtle at the smallest aperture. The photos were taken at the same apertures as the series above
So, what did I learn? As expected, the depth of field (the part of the photograph in sharp focus) changes in relation to the aperture. However, I'd never really examined any photographs that closely to examine the effect in detail, I'd just used it to blur the background. I've realised that the area in focus can be quite complex depending on the subject and that this needs to be carefully considered. For example a portratit with perfectly sharp eyes and ears would be destroyed by a blurred nose!
Purposely introducing a narrow Depth of Field helps to draw the viewer to a specific point and can also be used to detract from others. It also introduces a degree of mystery to the image, leaving the viewer to interpret the detail of what is only suggested by the photographer.

Your shots really show the dof difference here. Good going!
ReplyDelete