Sunday, 6 March 2011

Pt 1, Ex 6 Balance

I found this exercise difficult to start with as I hadn't really consciously considered balance in photographs, but relied on what 'looked right'.  Obviously there are no rules as such and what looks right is important, but this has taught me to look further at subjects and consider the balance as a part of the overall composition.

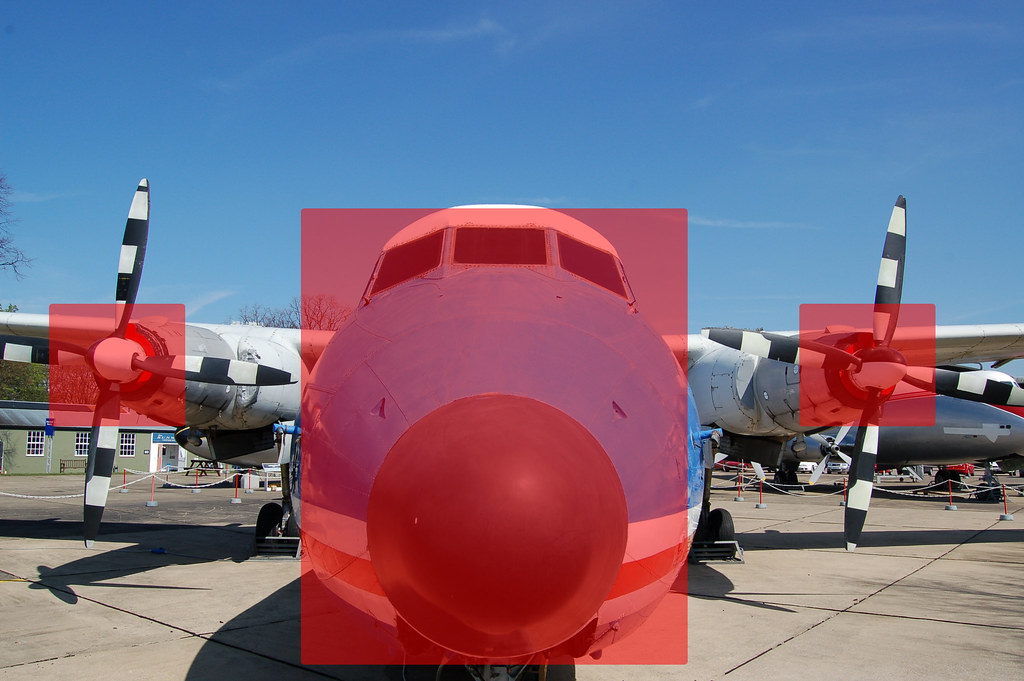
I've used 6 photographs that I've previously taken and indicated where I think that areas of balance occur.  Some of these were quite simple to identify (Balance 1, 4 & 5) and the others more complex.  At first I struggled to identify the balance in the other images, but then found that I was drawn to parts of the images, and that those parts formed the balance .

The original images are available in this set on Flickr

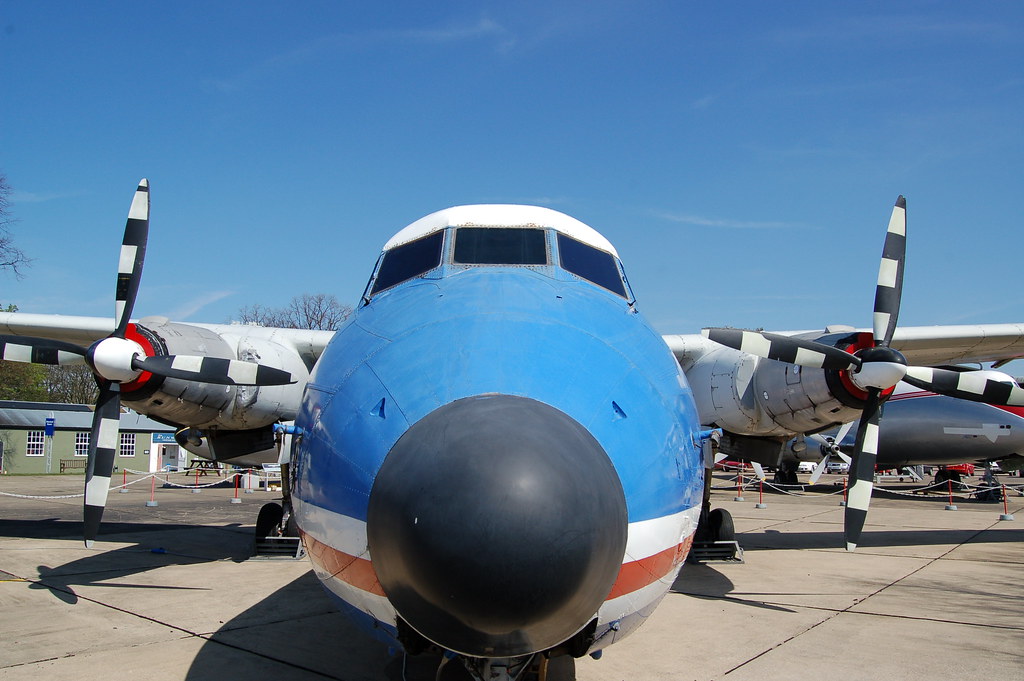
Balance 1.jpg 
Balance 1a.jpg
The balance is easily identifyable by the symmetric nature of the image.  The propellors balancing out the dominent nosecone.

Balance 2.jpg
Balance 2a.jpg
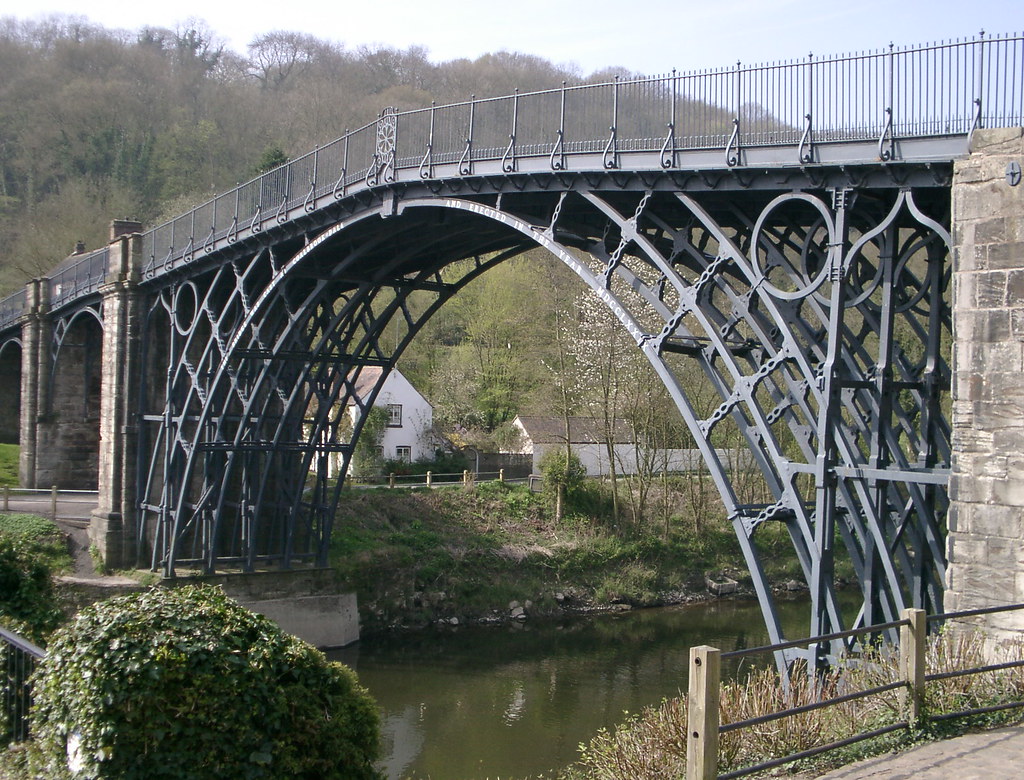
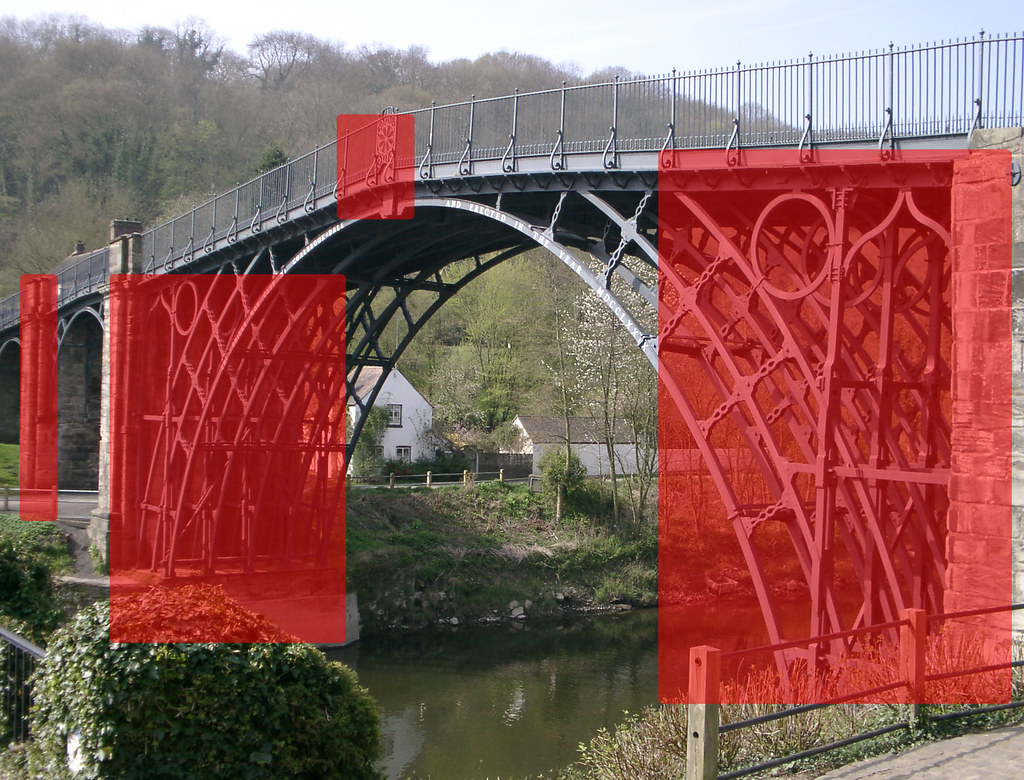
The Iron Bridge was more complex, but by noting the areas that caught my eye, I was able to identify the balance in the image.  I've included the detail at the highest point of the bridge as I feel this locks elements together.

Balance 3.jpg
Balance 3a.jpg
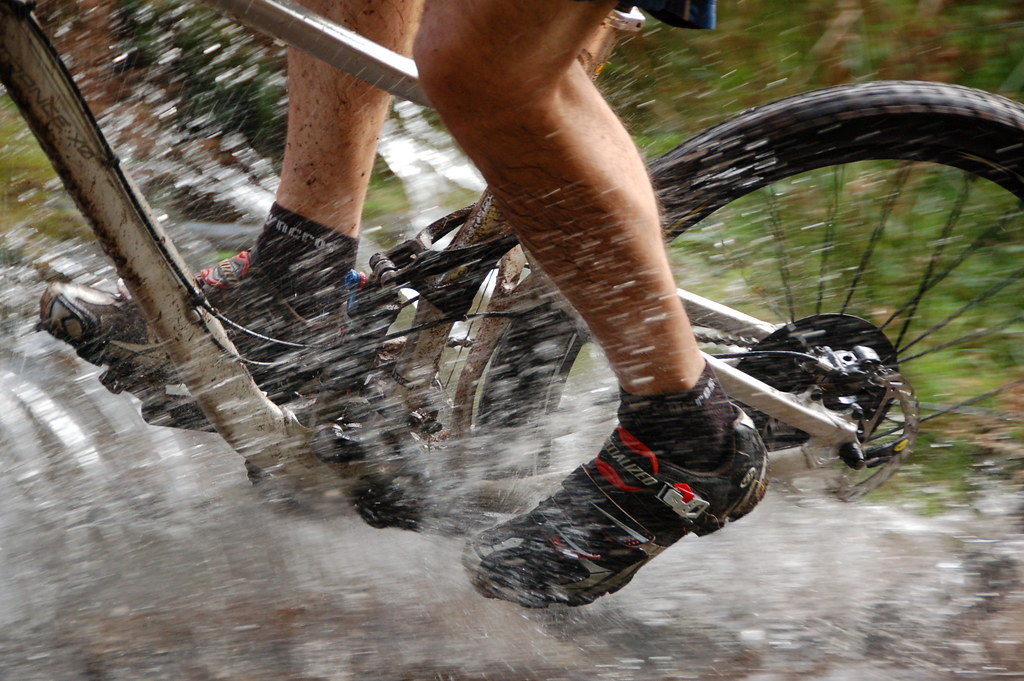
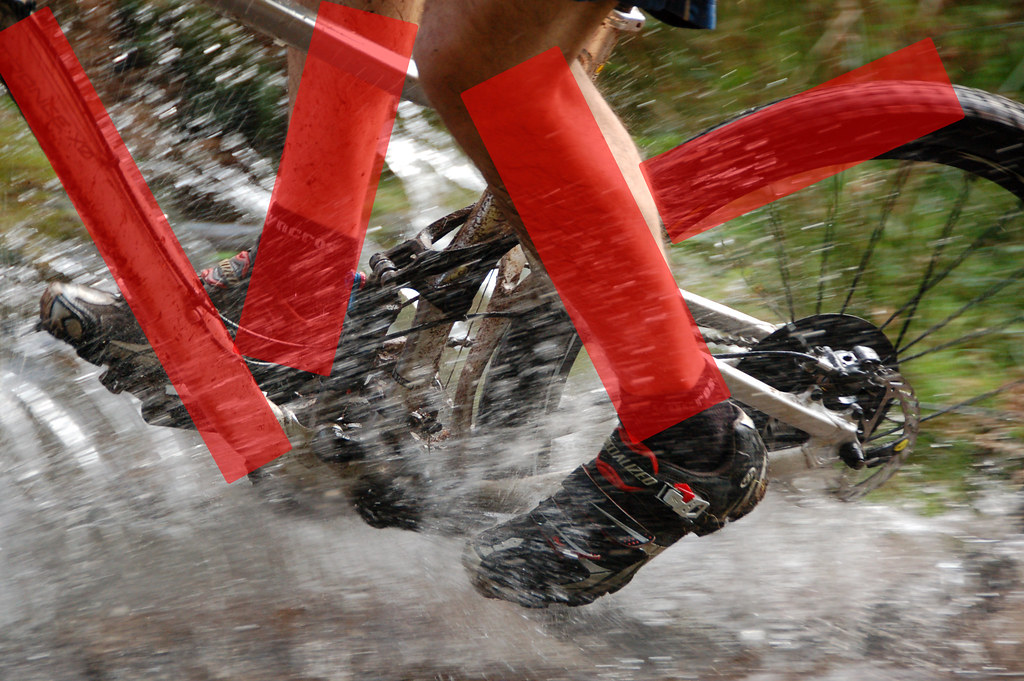
The bike splash photograph was challenging, but the relationship between the bike frame, the riders legs and the rear wheel tie the image together, forming a 'W'.

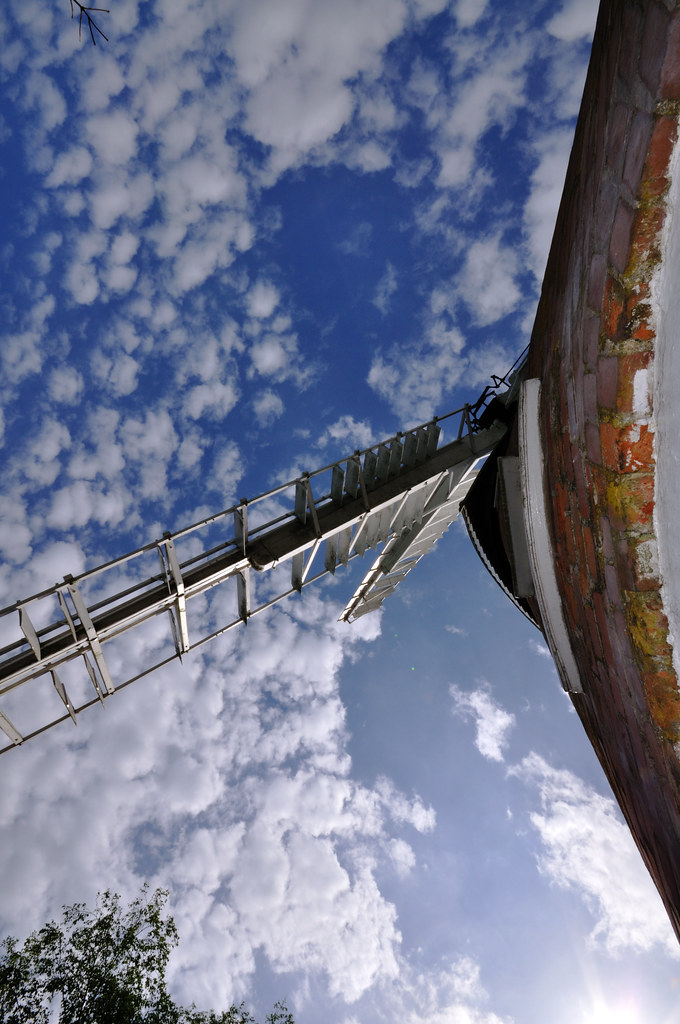
Balance 4.jpg
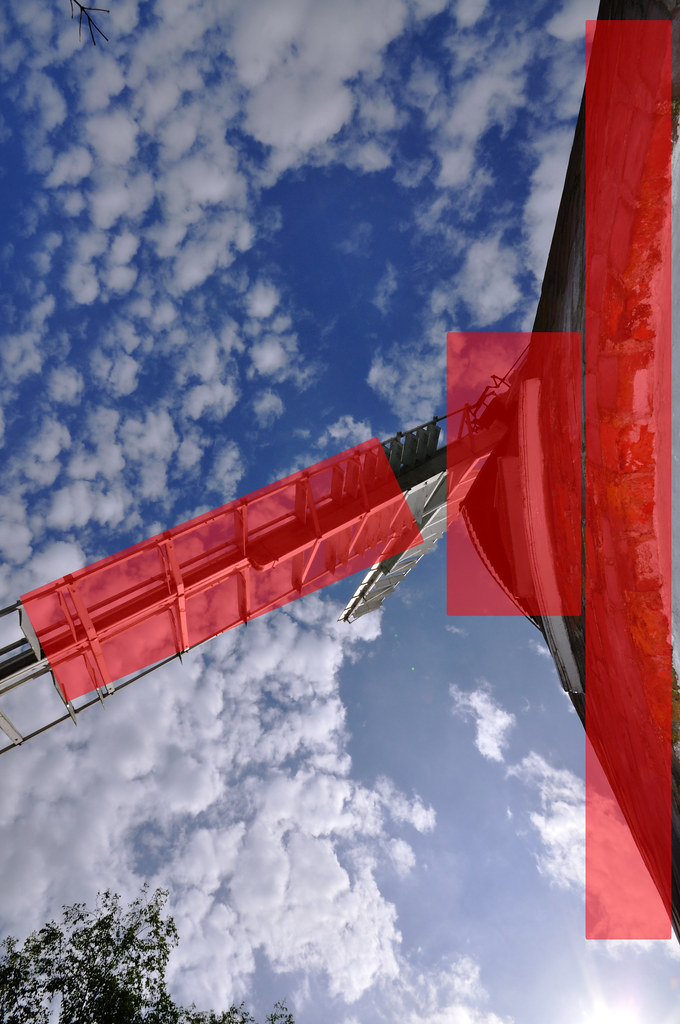
Balance 4a.jpg
The windmill is slightly off balance, but I don't feel it is any less of an image for it.  The bold strong brickwork on the right leads to the slender sail, giving a balance to an otherwise one sided image.

Balance5.jpg
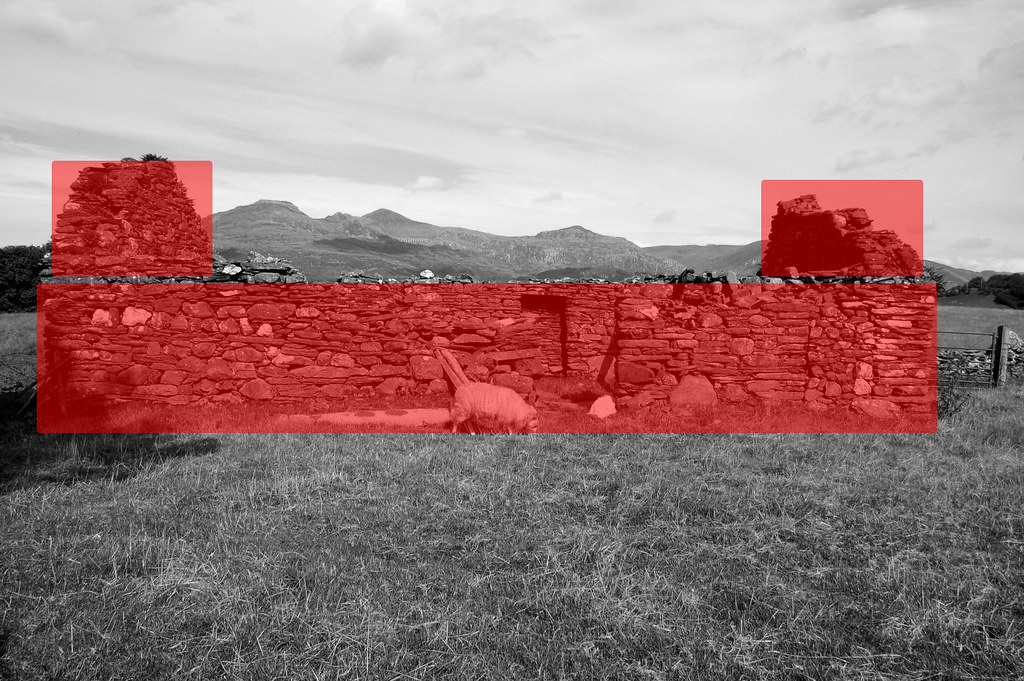
Balance 5a.jpg
The ruined Welsh barnis a quite symmetric image and the balance reflects this.

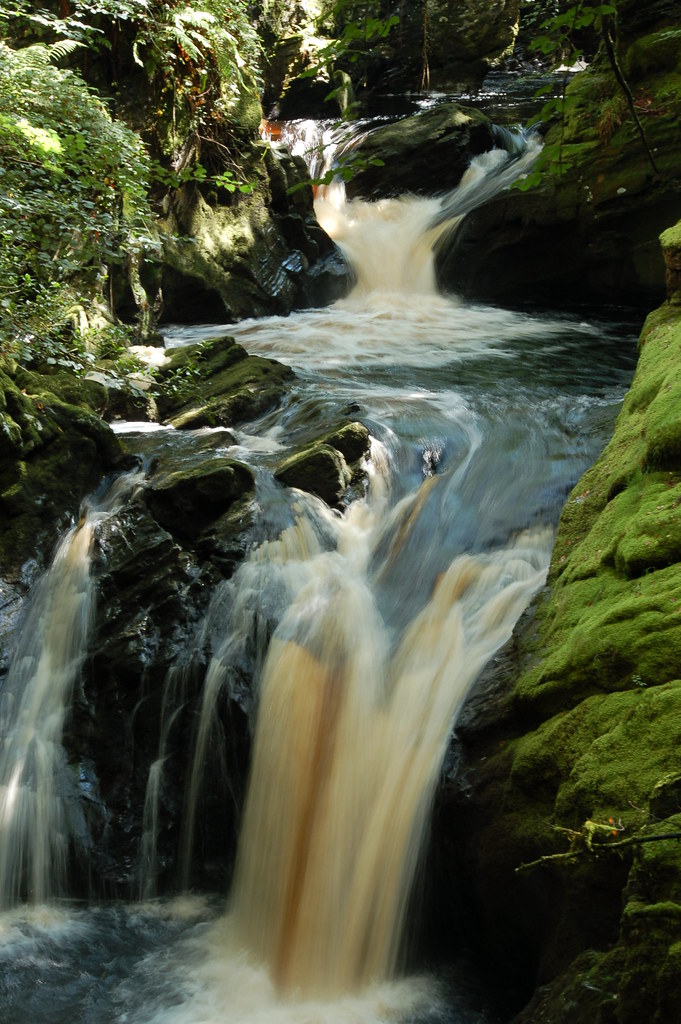
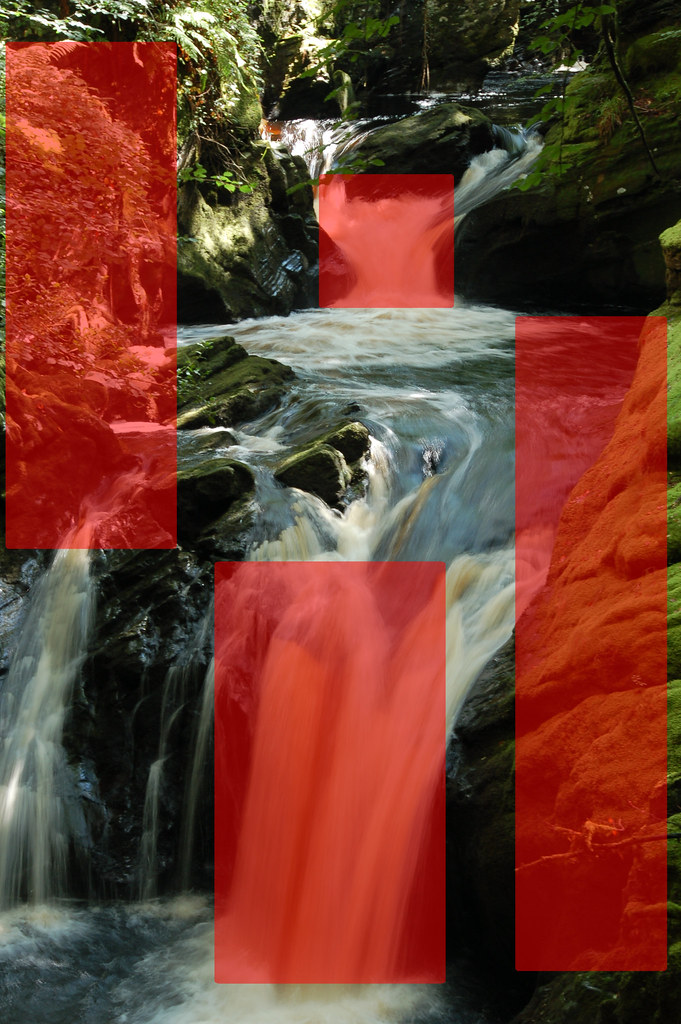
Balance 6.jpg
Balance 6a.jpg
The waterfall was more complex to identify the balance in.  The edges of the river banks balance left to right, whilst the two falls of water balance top to bottom.
Pt 1, Ex 3. A Sequence of Composition

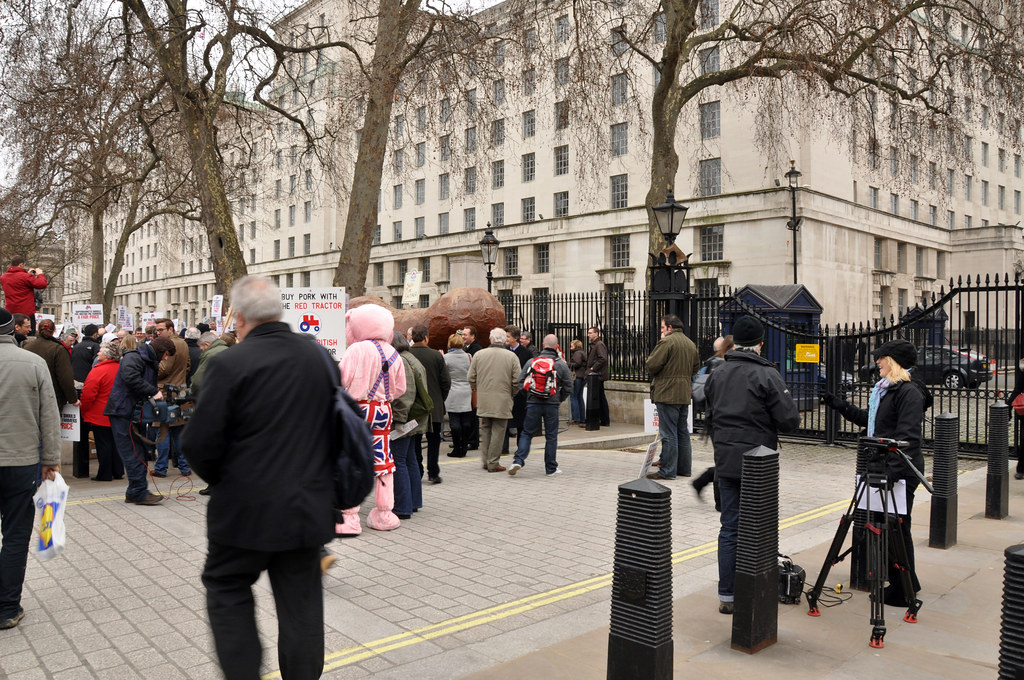
For this exercise, I headed to London with the idea of heading to the usual busy places with lots of people.  Unfortunately a combination of areas being set up for events and a overcast cold day seemed to keep most people away, but I was lucky to find a small demonstration in Whitehall, opposite Downing Street.  The full size pictures can all be viewed in this Flickr set.  The act of capturing these images was quite enjoyable, and not something I'd done previously.  It was also more demanding than I expected it would be as I was constantly trying to find points of interest whilst avoiding collisions as I kept looking through the viewfinder.


SOC1.jpg
The first photo is as I approached the scene and shows a TV crew beginning to set up
SOC2.jpg
In this photo I included the view of the London Eye in the to give some interest in the background and clues to the event's location
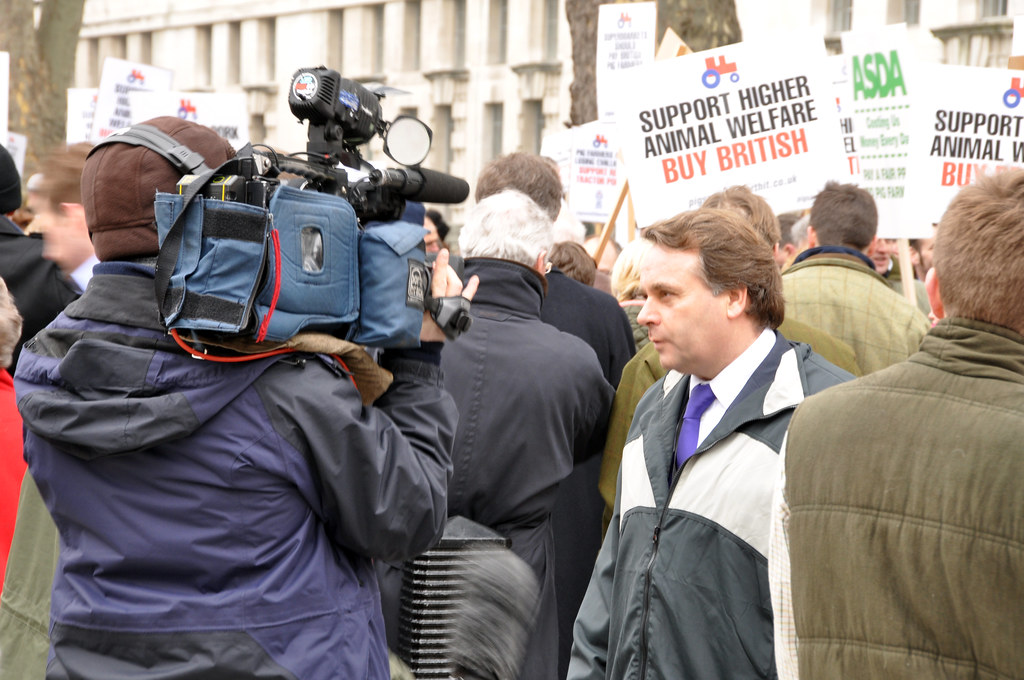
SOC3.jpg
Moving along, I noticed a TV reporter  doing a piece to camera.  I made sure I included some of the placards in the background to give context to the the image

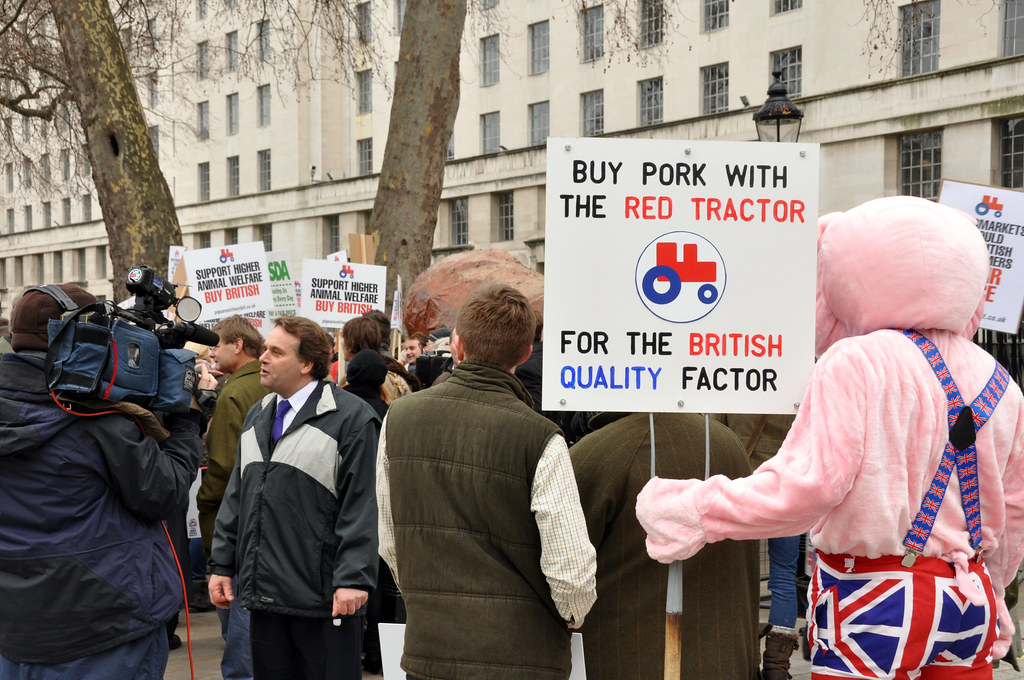
SOC4.jpg
Pulling back from the reporter, the 'pig' and his sign become dominant, but the reporter is still visible and imparts the newsworthiness of the event
SOC5.jpg
Moving around the TV crew, I continued taking photos.  This is a pretty dull image, but tracks my progress around the event
SOC6.jpg
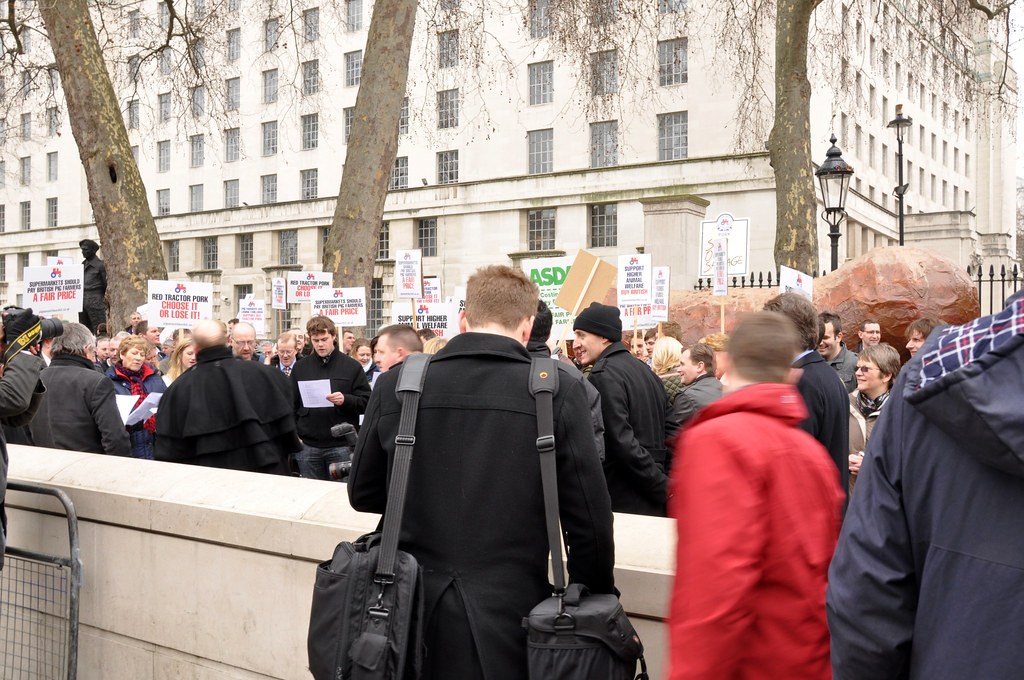
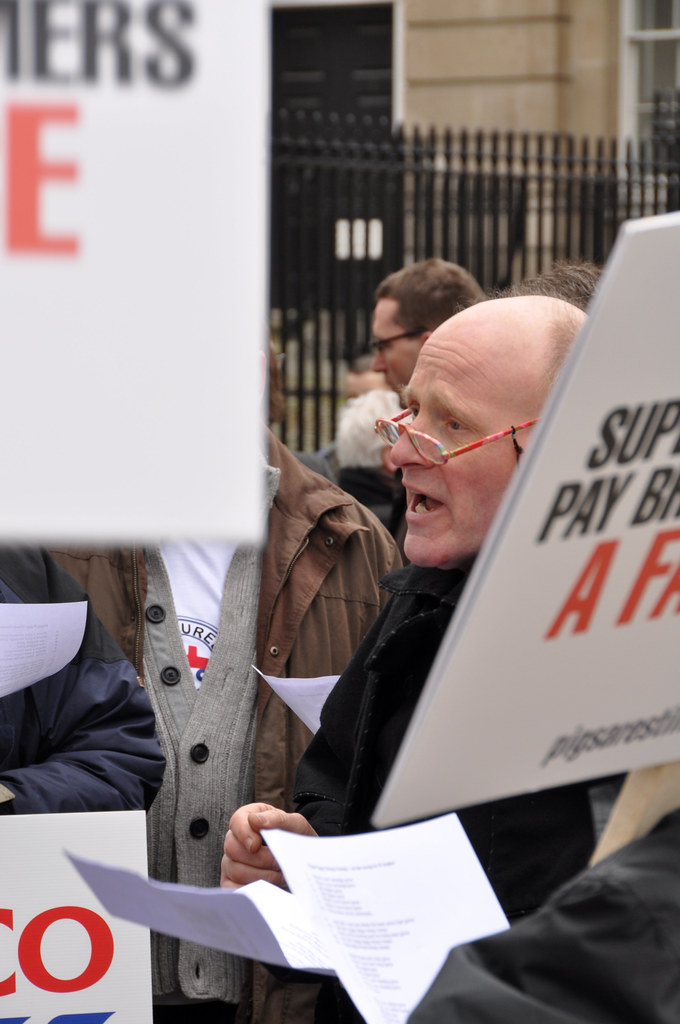
Moving on slightly further, I found what appeared to be on of the focus points of the protest, with the man in black (back to us) leading the protesters
SOC7.jpg
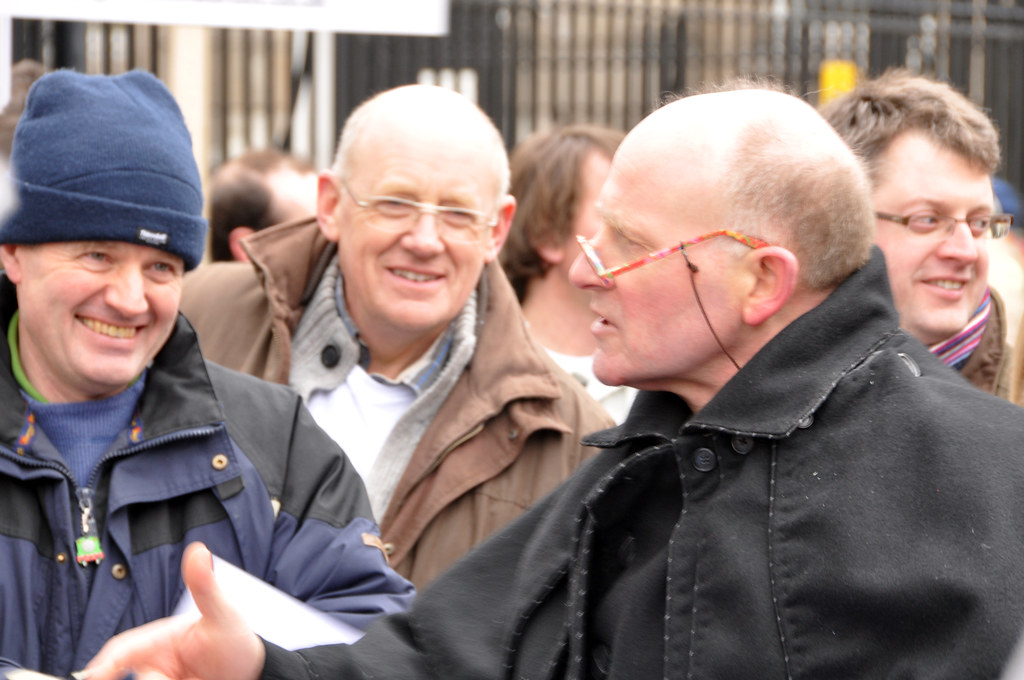
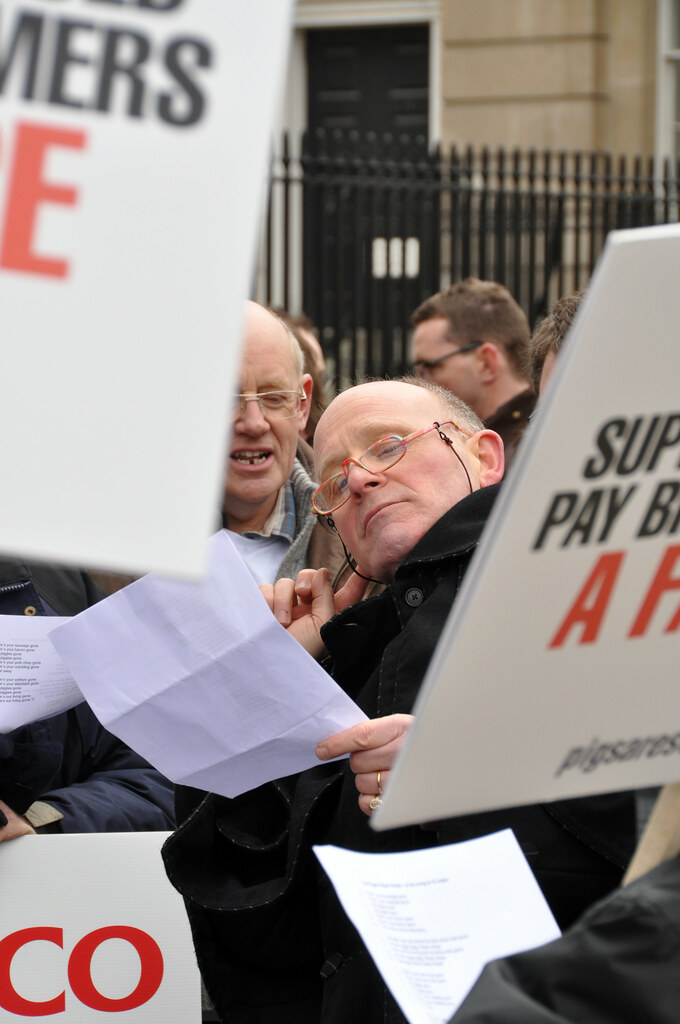
Moving round to focus on the the man leading this part of the protest, I captured this image.  Whilst a poor image technically (poor light lead to slower shutter speeds), it is a good capture in the context of the subjects. Two demonstrators are clearly captivated by the man leading and enjoying the event.
SOC8.jpg
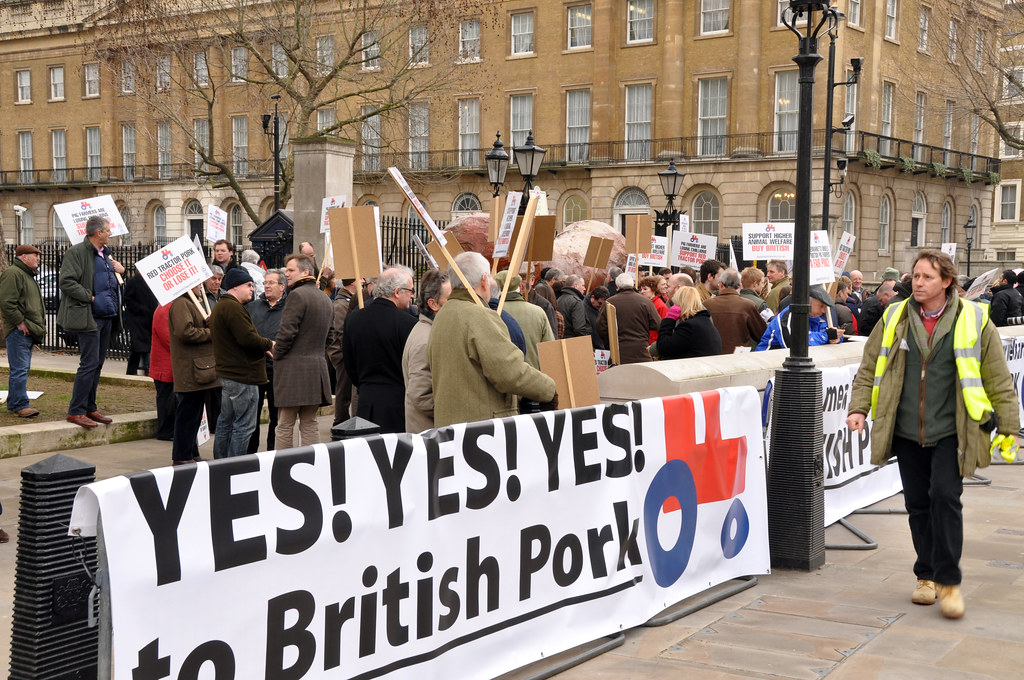
Moving further along the line, we get more context as to the protest.  The large banner clearly states the purpose of the protest and the man in the Hi-Vis tabbard is organising people.
SOC9.jpg
Moving back towards the centre of the protest now and we can see people looking towards a common point
SOC10.jpg
...and that central point is our leader again.  This time leading the protesters in singing.
SOC11.jpg
..and here we see him encouraging a response from his audience
SOC12.jpg
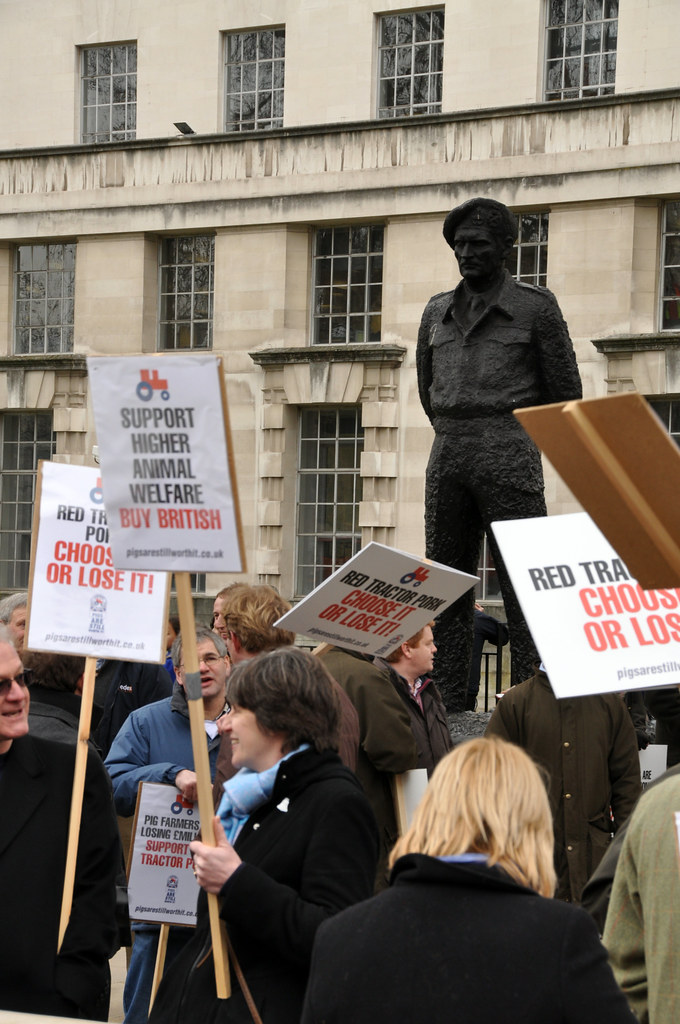
Turning round I noticed the statue of Montgomery.  The contrast between military discipline and the random nature of the protesters works well (although the statue is a bit underexposed) as does the relation between people expressing their freedom and someone who fought for it
SOC13.jpg
Turning to the right I noticed a sign saying 'Sign Our Sausage'
SOC14.jpg
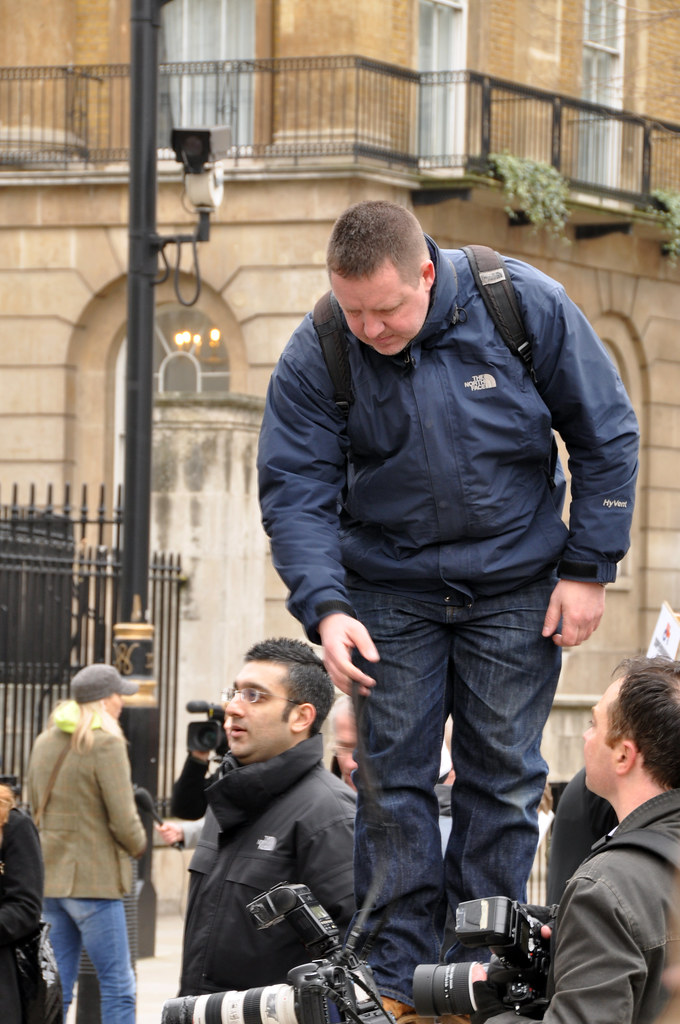
...and turning a bit more to the right, I captured press photographers covering the event.  I notice that they all had flashes mounted to their cameras.  If only I had had mine with me as the light was really poor - a lesson learnt!
SOC15.jpg
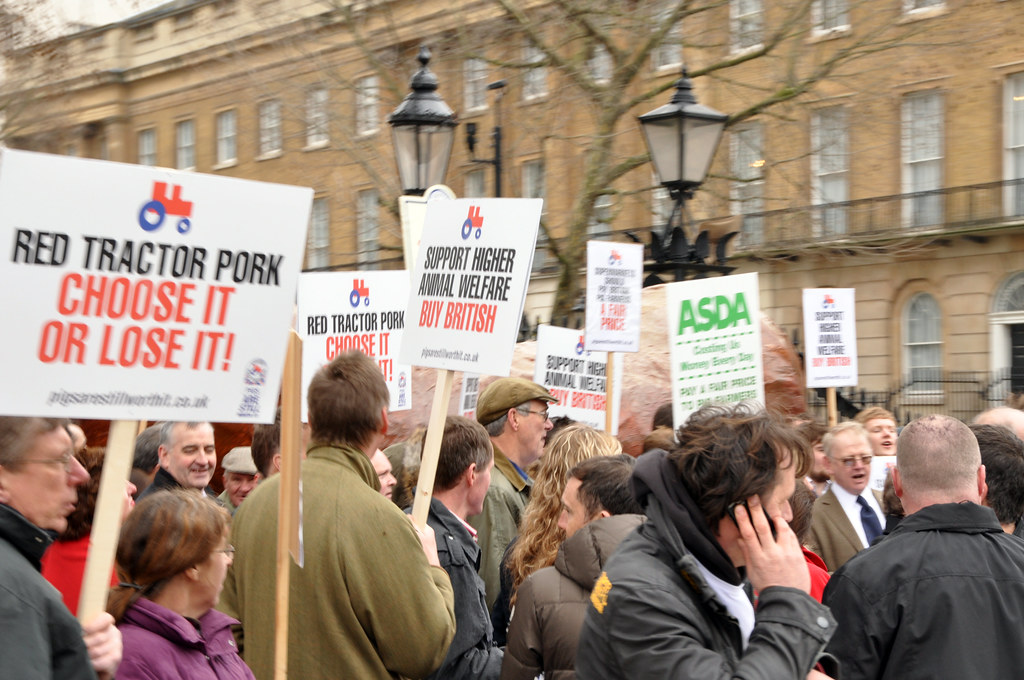
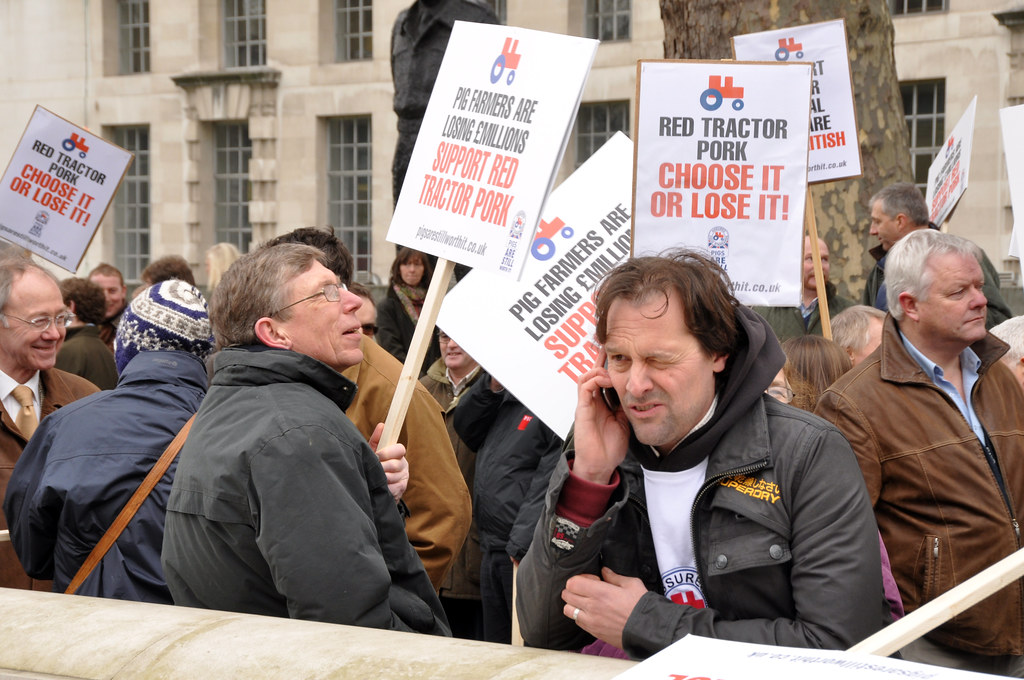
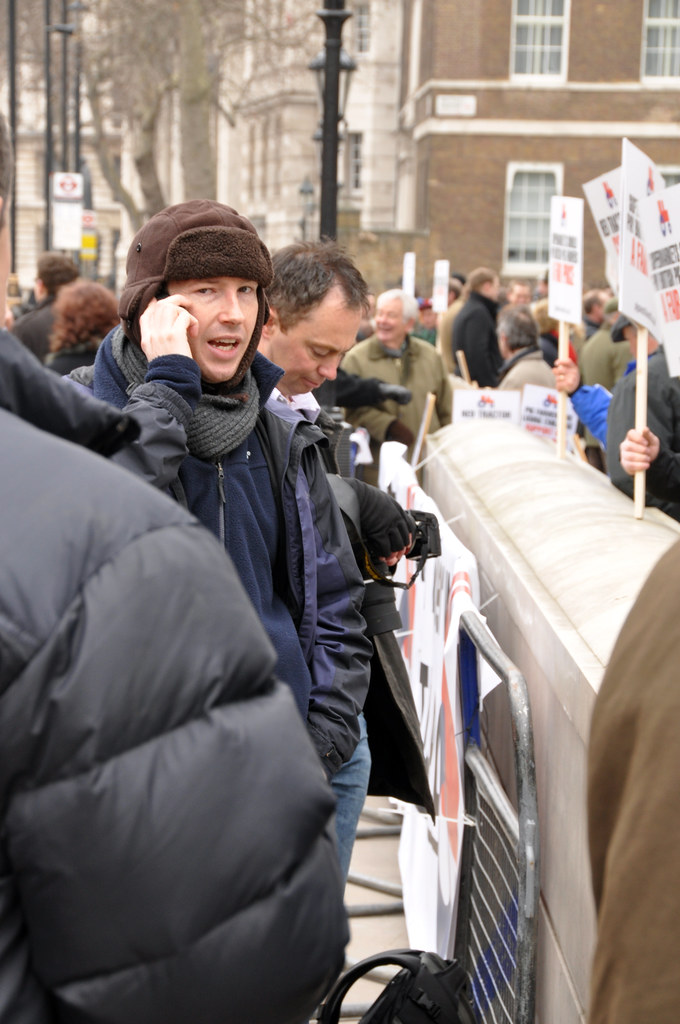
I then noticed a man to my left - mainly because he was facing the opposite way to everyone else and concentrating on a phone call rather than anything else.  The T-shirt under his jacket the only clue that he was part of the protest
SOC16.jpg
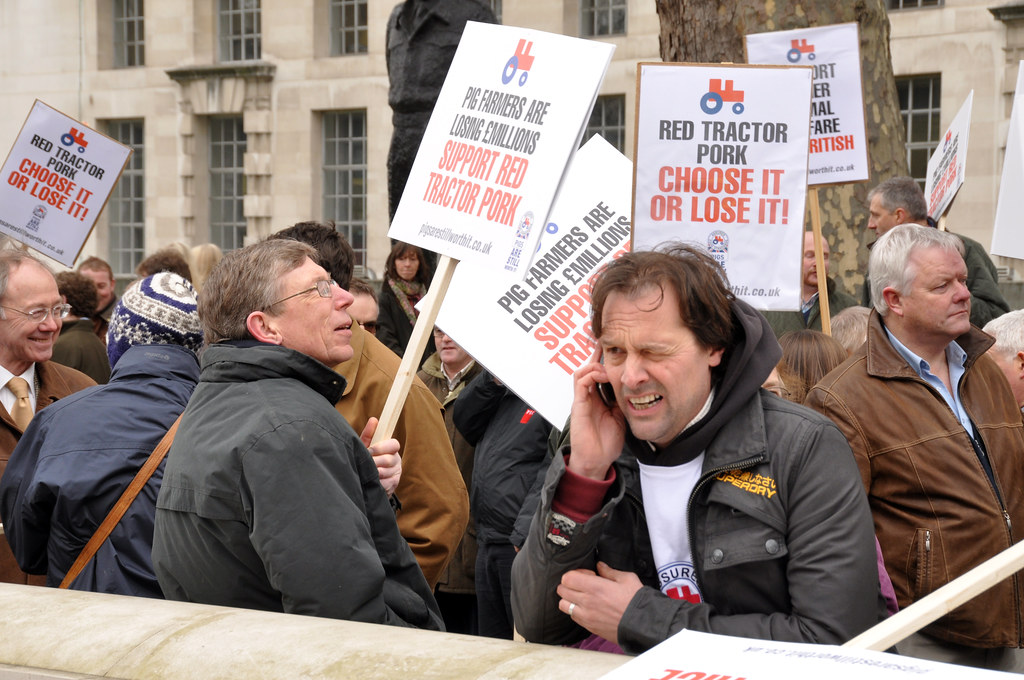
..but the phone call was clearly making him quite animated.
SOC17.jpg
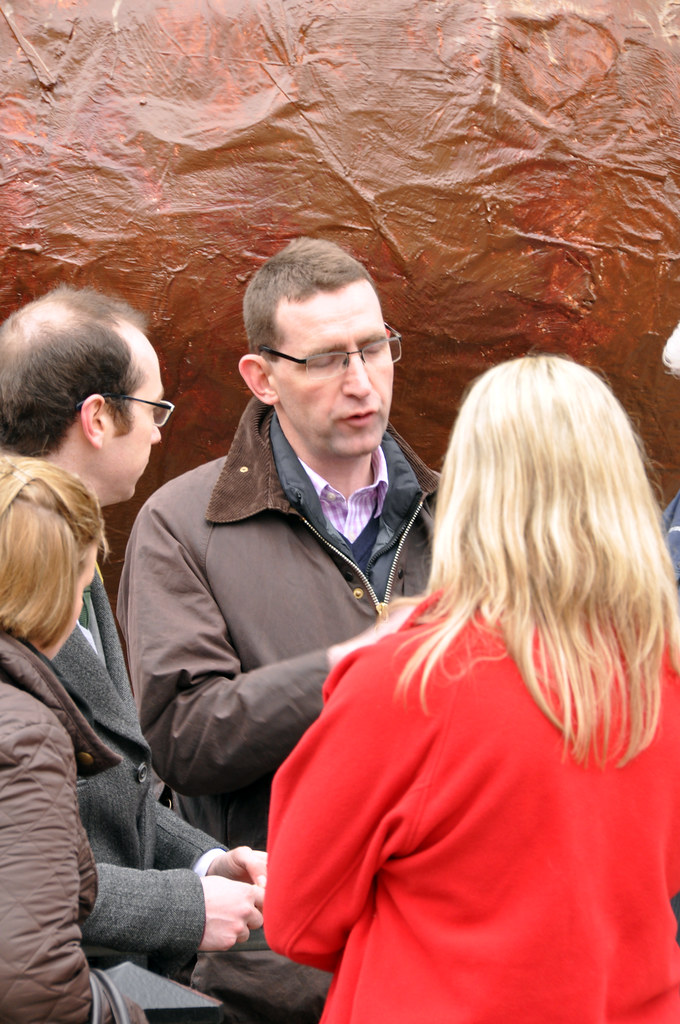
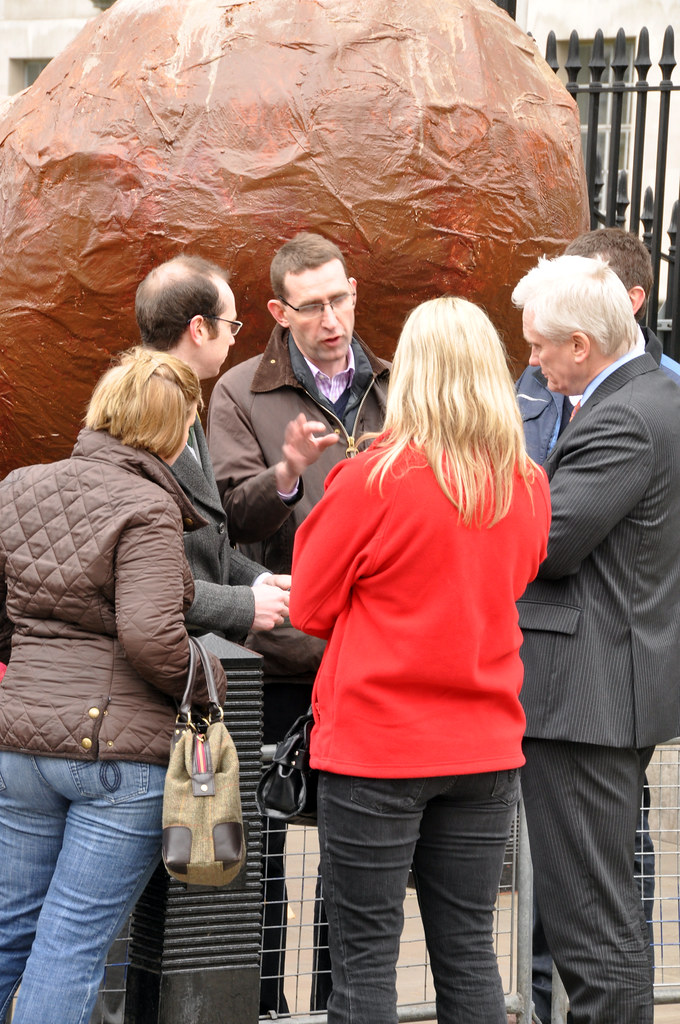
Moving round to the right of the protest to seek new views, I found someone giving an interview
SOC18.jpg
Zooming out give a sense of the seriousness of the message being communicated
SOC19.jpg
Turning to the left, I captured the press contingent again.  The wall between the press & protesters serves as a physical barrier between the two sides.
SOC20.jpg
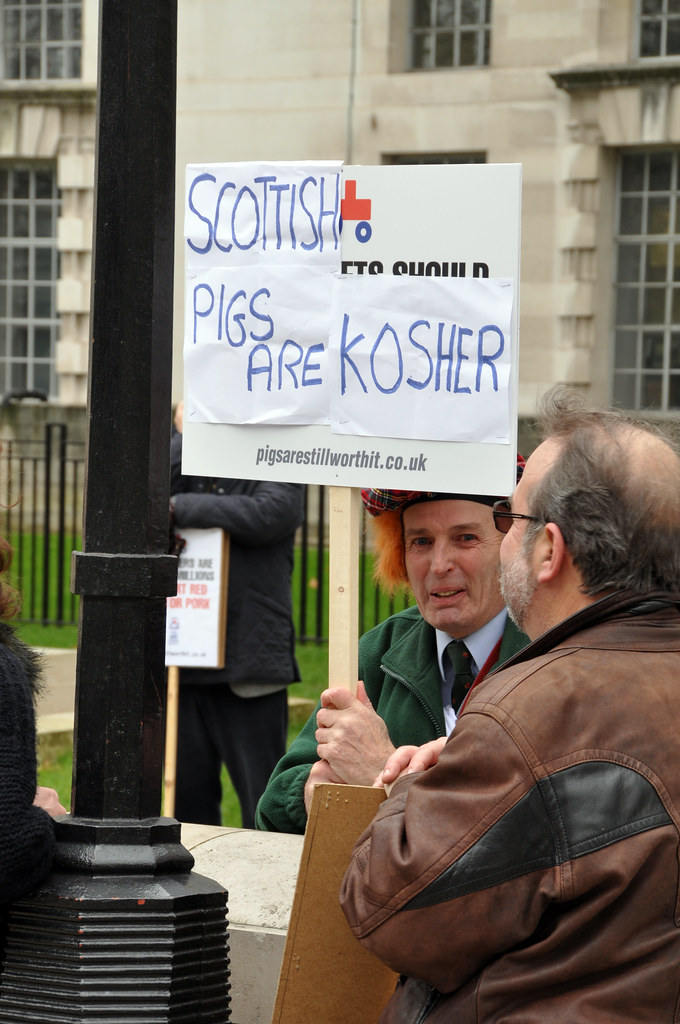
Moving on to the far side of the protest I came across this individual.  He appeared to be on his own and slightly removed from the main group - possibly because of the somewhat questionable phrase he has put on his placard.
SOC21.jpg
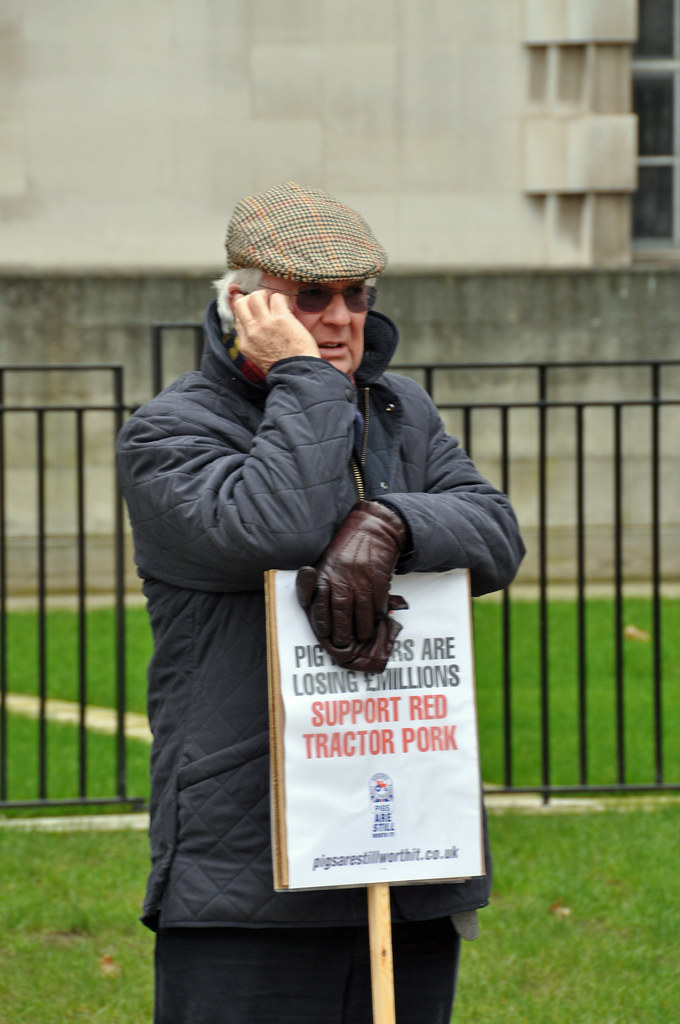
Finally I saw this man, completely on his own, talking into a mobile phone.  He appears to be taking part in the protest somewhat reluctantly and was keen to be on his own.  Perhaps he was complaining to someone on the phone

Saturday, 5 March 2011

Pt 1, Ex 5 Focal lengths and different viewpoints

The subject of this exercise was Temple Bar in London which acts as a gateway between St' Paul's Churchyard and Paternoster Square (more info here).
Two shots were taken and the originals can be seen in this Flickr set


Temple Bar 1.jpg ISO400, 32mm, 1/80, f/14
The first image is a pretty standard shot.  It's square on and is fairly ordinary.  It defines the the subject in context with it's immediate surroundings.  At 32mm focal length it's fairly wide and this can be seen by the straight edges bowing slightly

Temple Bar 2.jpg ISO400, 10mm, 1/100, f/14
The second image was taken at 10mm and with such a wide angle I felt like I was almost standing underneath the subject. The height and depth have all become exaggerated and the entire structure appears to be leaning backwards.  The image is not easy on the eye and the distortions dominate.

Using wide angles can bring some interesting and pleasing results, but the subject matter has to be taken into consideration.  Wide angles can emphasise subjects, such as in the following image of one of my sons throwing a stone into water.  The close proximity of the camera and the wide lens exagerate the pose and infer the essence of movement, even though a fast shutter speed was used.
ISO1600, 10mm, 1/1000, f/9
Similarly, telephoto lenses 'flatten' images, resulting in a reduction in depth in the photo, with large distances compressed.  The subject of the photo below was about 4 miles away from where it was taken, but the large telephoto lens make it appear much closer
ISO200, 500mm, 1/1250, f6.3

Pt 1, Ex 4. Focal Lengths

For this exercise, I selected St Peter's Chapel in Bradwell-On-Sea as the subject - more info here.  I had planned to use the area for a few exercises, but once again I was greeted with awful weather and the clouds and the sea merged into one.  It was also drizzling, which made for a difficult time trying to keep everything dry, something that didn't work in the 1st image as rain got on the lens.
I used 2 lenses for this exercise, a Sigma 10-20mm wide angle lens and a Sigma 50-500mm zoom.  This enabled a very large range in focal length.  The camera was fixed to a tripod, however as the 50-500 is such a large lens it is fixed to the tripod rather than the camera.  This means that when I changed lenses, the sensor in the camera is moved backwards and downwards.  This does make a small change in the  resultant images, although with this subject it hardly notices.  Obviously, with such a large range the differences in the images is huge, but we can see the view through the window in the centre of the images remains the same.

The original images are available in this Flick set

Focal Lengths 1.jpg ISO400, 10mm, 1/50, f/18
Focal Lengths 2.jpg ISO400, 50mm, 1/30, f/18
Focal Lengths 3.jpg ISO400, 116mm, 1/30, f/18
Focal Lengths 4.jpg ISO400, 195mm, 1/30, f/18
Focal Lengths 5.jpg ISO400, 320mm, 1/20, f/18
Focal Lengths 6.jpg ISO400, 420mm, 1/60, f/11
Focal Lenths 7.jpg ISO400, 500mm, 1/60, f/11

Pt 1, Ex 2. Object in different positions in the frame

The subject for this exercise was an abandoned bird hide looking out over the marshes and sea at Bradwell-On-Sea.  These were all taken using my Nikon D90 with a Sigma 10-20 Wide Angle lens mounted on a tripod.  The original images can be seen in this Flickr set.


Positions 1.jpg  1/100, f/22, 20mm
The first image is a typical 'arrive and shoot' type image which centres the subject, but is otherwise fairly uninspiring.

Positions 2.jpg  1/100, f/22, 20mm
The second image moves the subject towards the edge of the frame and this introduces more of a sense of isolation which is continued through the remaining images.

Positions 3.jpg  1/100, f/22, 250mm

Positions 4.jpg  1/100, f/22, 20mm

Positions 5.jpg  1/100, f/22, 20mm

Positions 6.jpg 1/100, f/22, 20mm